This article walks through installing NIC on a Windows computer, from downloading the installer to confirming NIC opens and detects WiFi devices correctly. The version in this guide is NIC 2.1.4.4 but you should use the latest available version.
Materials / Devices / Software
NIC 2.1.4.4 installer (Windows)
Windows PC meeting minimum system requirements:
Processor: 1.6 GHz
RAM: 2 GB
Communication interface: WiFi / USB
Screen resolution: 1280 x 768
Pre-requisites
Internet access to download the installer from https://www.neuroelectrics.com/nic-windows
Administrator permissions on the computer (request IT support if needed)
WiFi enabled on the computer
Step-by-step guide
1. Download and extract the installer
Once the NIC installer has downloaded, right-click the file and select "Extract All" to create a new folder with its contents.
2. Run the installer as administrator
Open the extracted folder, right-click "Setup_NIC2.x.x.x", and select "Run as administrator."
If a Windows security pop-up appears, click "More info," then "Run anyway
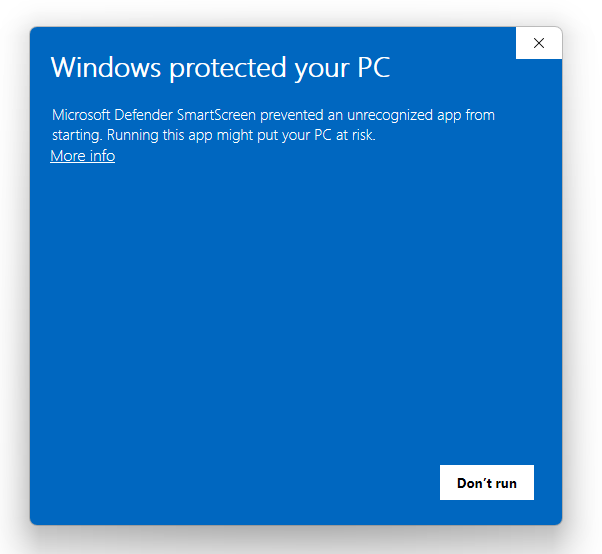
You may be prompted for admin credentials at this point
3. Complete the setup wizard
Follow the NIC setup wizard through to installation.
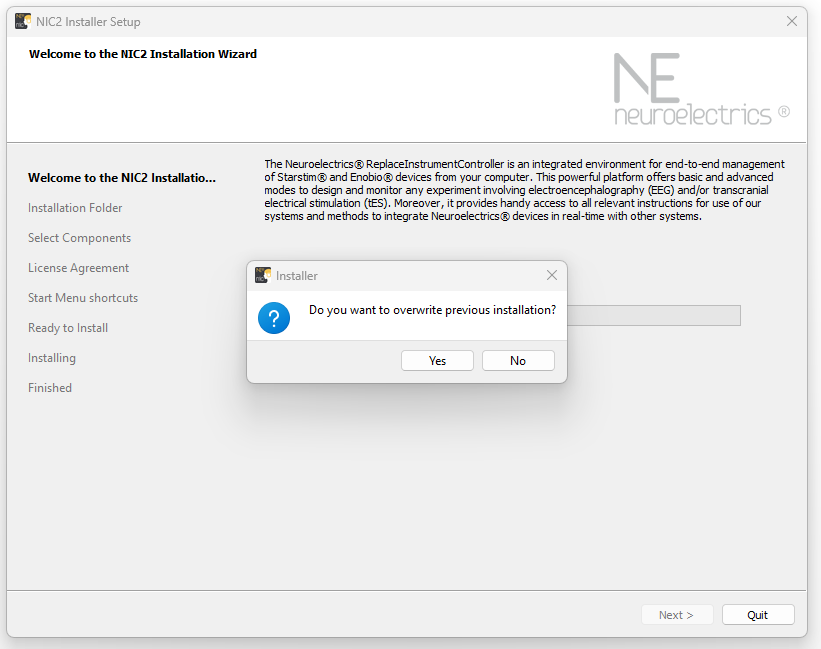
Click "Next" to begin (select "Yes" if a permissions pop-up appears)
Click "Next" twice, then select your license type (Clinical or Research)
Check "I accept the license agreement," click "Next" twice, then click "Install"
Wait for the installation to finish
4. Finish the installation
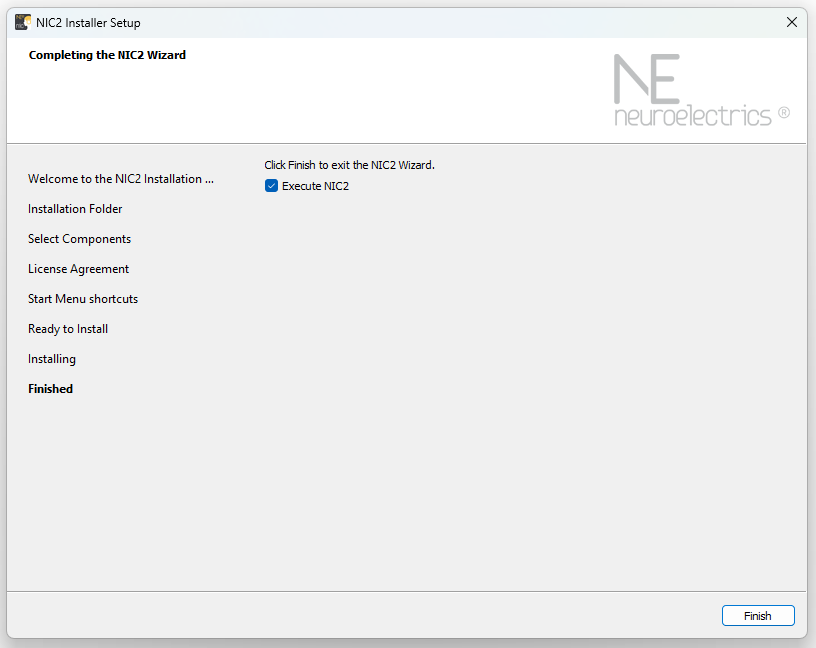
Click "Finish" once the installation window confirms completion.
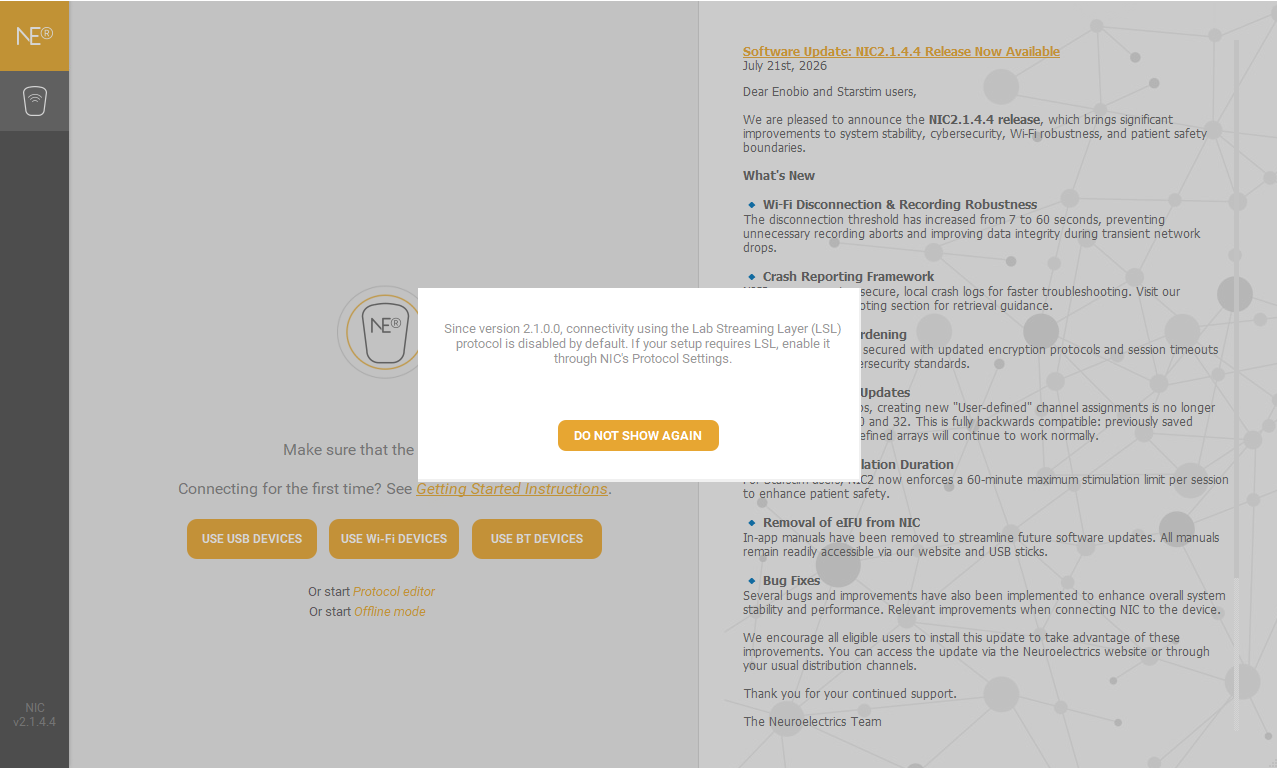
NIC opens and displays a confirmation window, confirming installation was successful
5. Enable WiFi device detection
Dismiss the setup prompts so NIC can detect WiFi devices.
Click "Do not show again," then click "Use WiFi Devices"
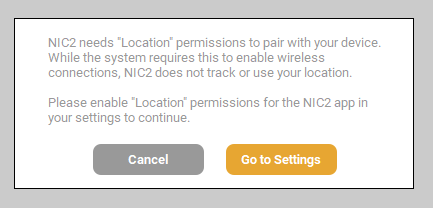
When the location permissions pop-up appears, click "Go to Settings"
6. Turn on location access in Windows
Enable location permissions so NIC can detect WiFi devices.
Toggle on Location Services

Confirm "Let apps access your location" is on

Turn on "Let desktop apps access your location"

If these were already enabled, toggle them off and back on to refresh the permission
7. Restart NIC
Close and reopen NIC so the new settings take effect.
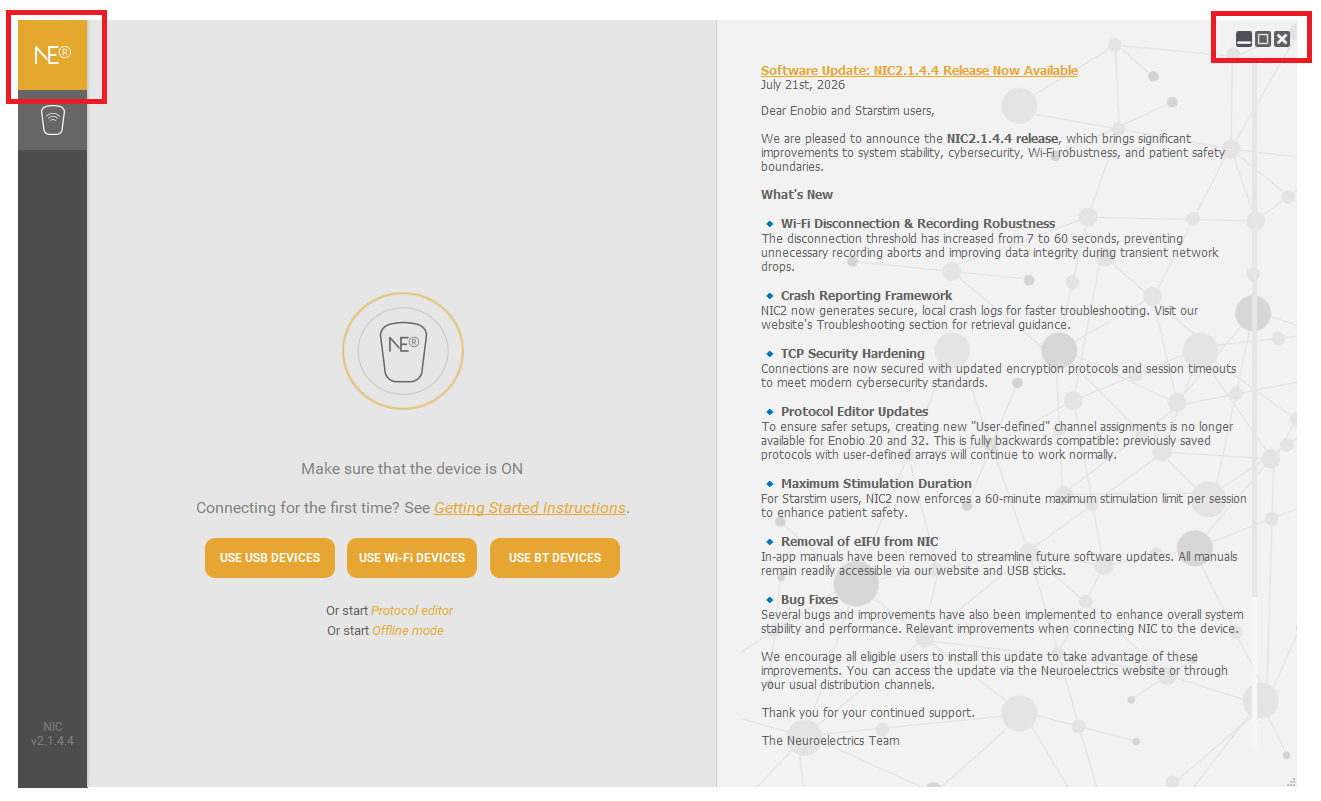
Hover over the top-right corner of the window to reveal Minimize, Maximize, and X, then click X to close NIC
Reopen NIC
Resolution evidence: NIC reopens without errors and detects WiFi devices when you search for a connection. installation and setup are complete
8. Reposition the window (optional)
Click and drag the orange square in the top-left corner of the window to move it if needed.
Was this article helpful?
That’s Great!
Thank you for your feedback
Sorry! We couldn't be helpful
Thank you for your feedback
Feedback sent
We appreciate your effort and will try to fix the article